Legacy Schedules
Setting up a scheduled workflow
Prior to Zynk Version 2024.10.2, you can set up a schedule through the Schedule button within a Workflow.
Note: Please ensure running is running as an Administrator to set up a new schedule.
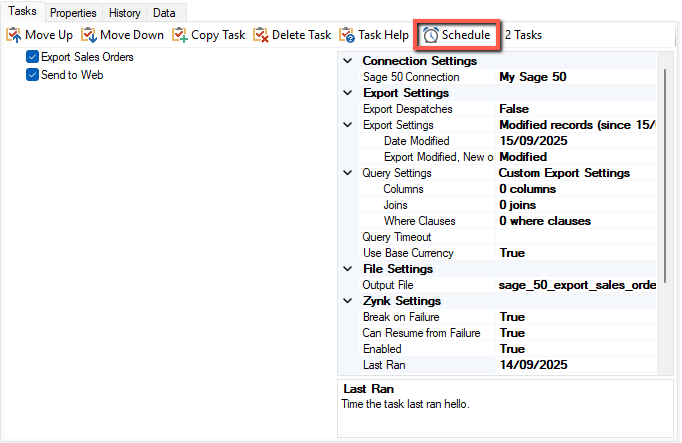
Open the Workflow you'd like to set up a schedule for, and click the Schedule button.
You'll then be prompted by a Windows form to preview the schedule.
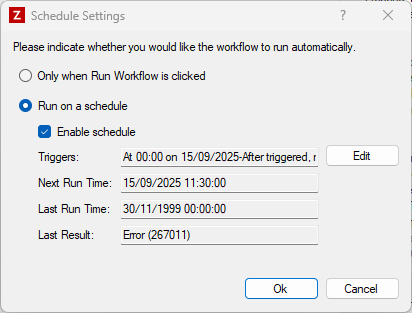
You can customise the schedule by selecting 'Edit'.
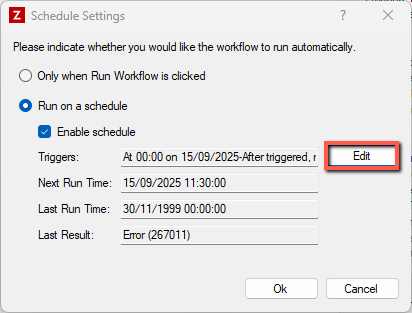
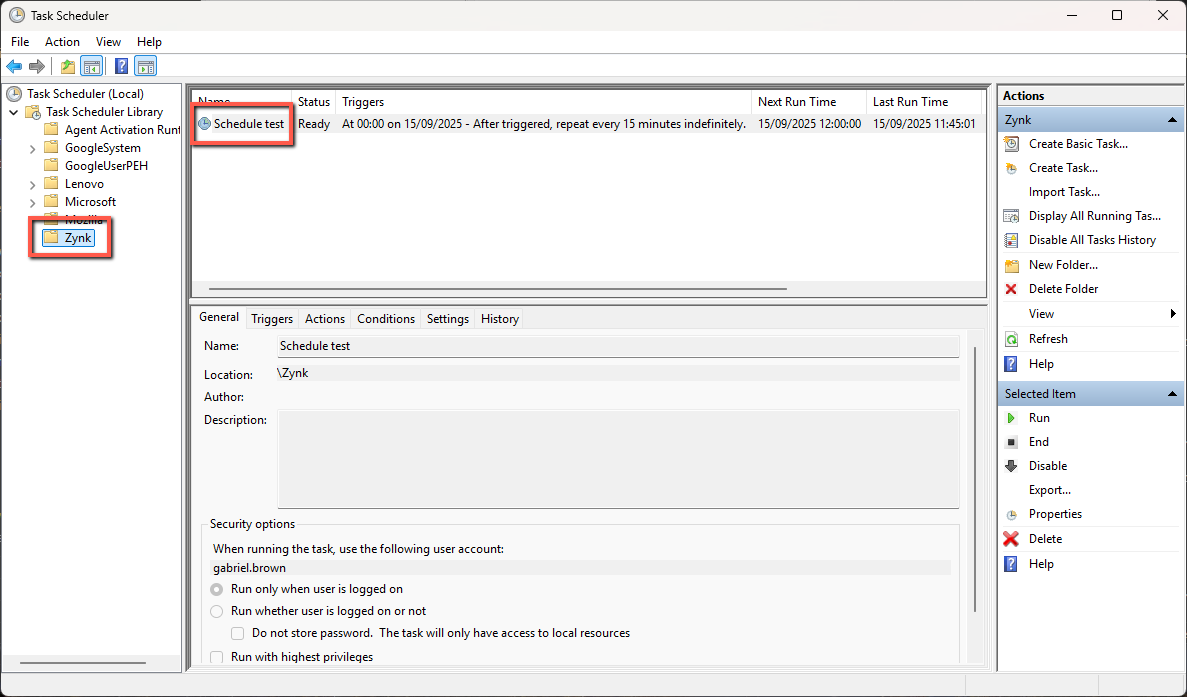
This will bring up Windows Task Scheduler.
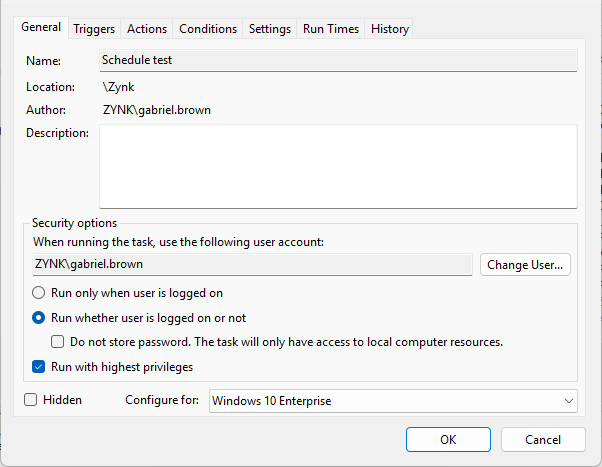
Note: For better reliability with legacy schedules, make sure to select "Run whether user is logged on or not" as well as "Run with highest privileges".
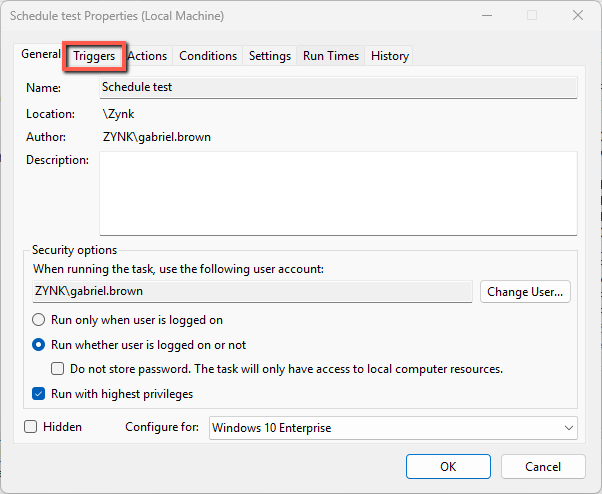
To customise the triggers of your task, select the triggers menu.
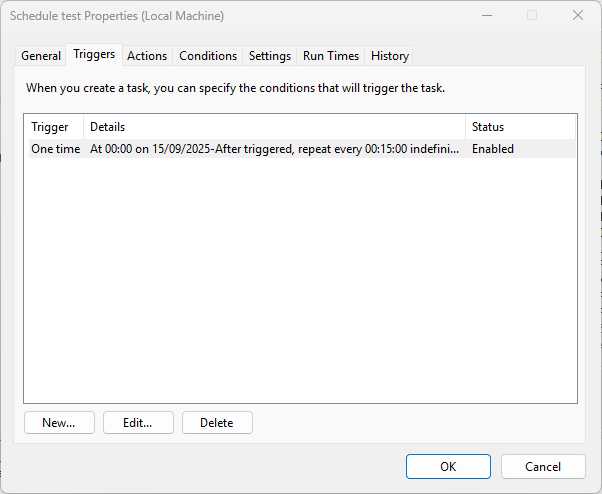
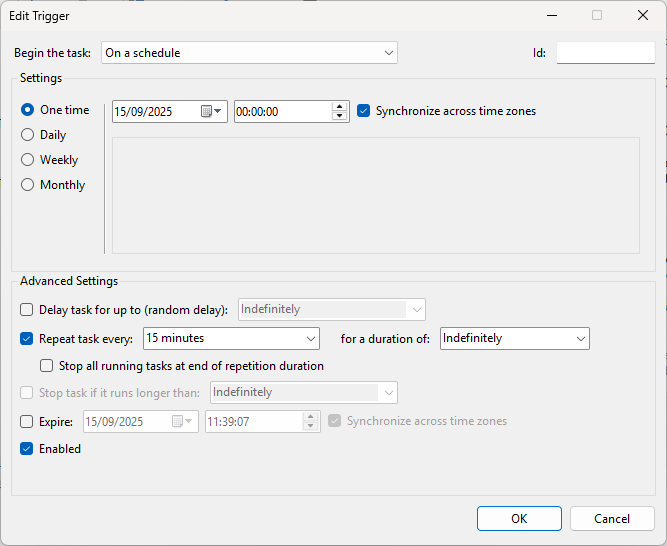
By default, this set up will run a schedule every 15 minutes indefinitely. If you want to change this - highlight the trigger and click "Edit":
Note: Zynk does support multiple triggers on individual tasks, however exercise caution to make sure they don't run over one another.
Once you've finished customising your task, click "Ok" to return to the main task properties window and click "Ok" once more. Windows will prompt you for a the Username and Password for the user you've selected in the above windows.
Once these are entered, this will complete the setup of the schedule.
Managing Schedules
Stopping a Workflow schedule
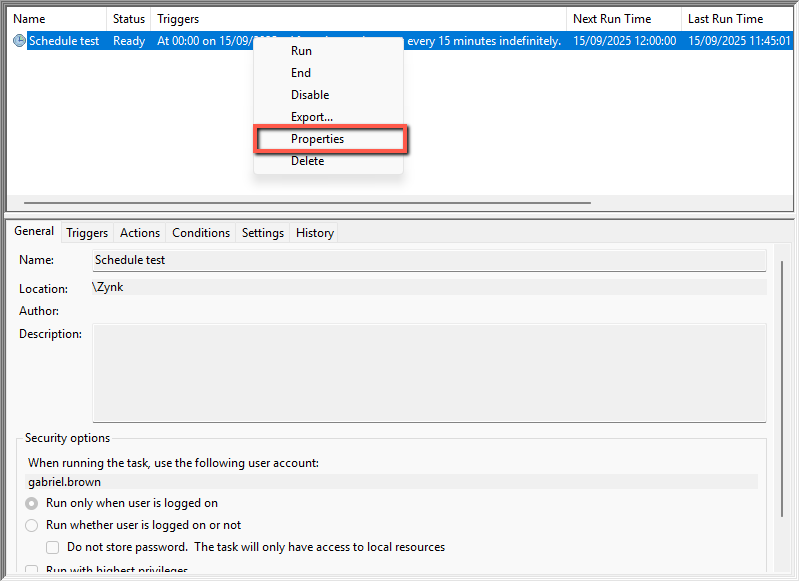
Sometimes, it’s important to prevent Zynk from running while changes are being made to Workflow, the machine itself or any of the software that Zynk interacts with. To stop a workflow from running, you can disable the task in Windows Task Scheduler. Simply right-click the scheduled task, then select Disable from the context menu:

Editing a workflow schedule
You can edit a workflow schedule by editing the properties. Right click the schedule you want to edit and click Properties: