Global Schedule
The Global Schedule allows multiple workflows to run on a shared schedule. It’s useful if you want to centralize scheduling and control the order in which workflows are run.
How It Works
Workflows added to the Global Schedule run automatically at a fixed interval, one after the other, based on their priority. This schedule runs independently of any individual workflow’s own schedule.
Note: If a workflow is added to the Global Schedule, its individual schedule will be ignored.
Adding a Workflow to the Global Schedule
There are two ways to add a workflow to the Global Schedule:
From the Global Schedule Manager
- Open the Global Schedule form from the toolbar.
- Click the + button.
- Select the workflow you want to add.
- Set the priority for the workflow.
- Save your changes.
From the Workflow
- Open the workflow and click Schedule.
- Select the Global option.
- Enter a priority value (lower numbers run first).
- Save the workflow.
Note: You will be prompted to enter your Windows username and password. The scheduled task will run under this account.
Priority
Each workflow in the Global Schedule is given a priority number. Lower numbers have higher priority and run first.
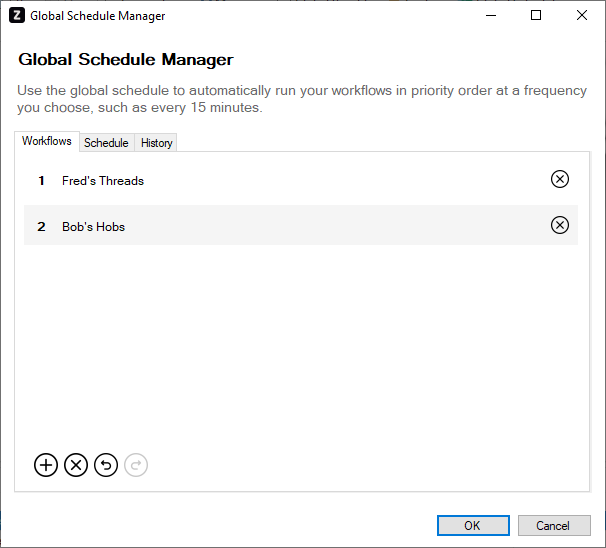
Viewing and Editing the Global Schedule
The Global Schedule can be viewed and edited by clicking Global Schedule on the toolbar.
From here, you can:
- Set how often the Global Schedule runs
- See all workflows using the Global Schedule
- Change workflow priorities
- Enable or disable the schedule
- View a history of changes
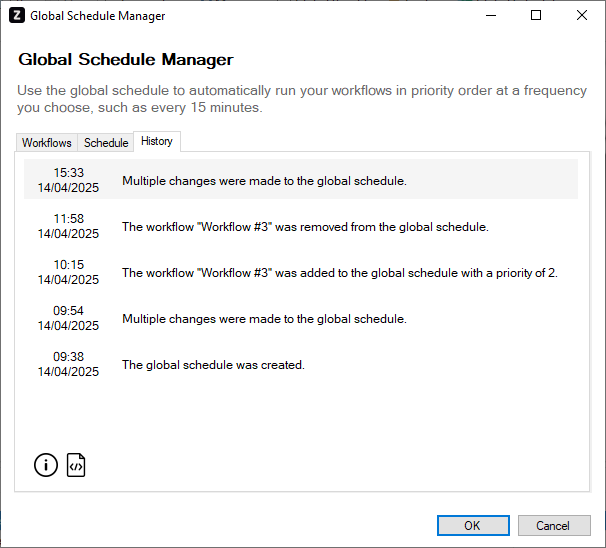
Change History
All changes to the Global Schedule are logged — including the date, time, and a description of the update — so you can track who made what changes and when.
Screenshots
Global Schedule Example
History