Zynk Automate
Zynk contains many features and tools to provide oversight on your data and workflows runs.
Below is a list of some of the more specialised tools you can access within the program.
Application Log
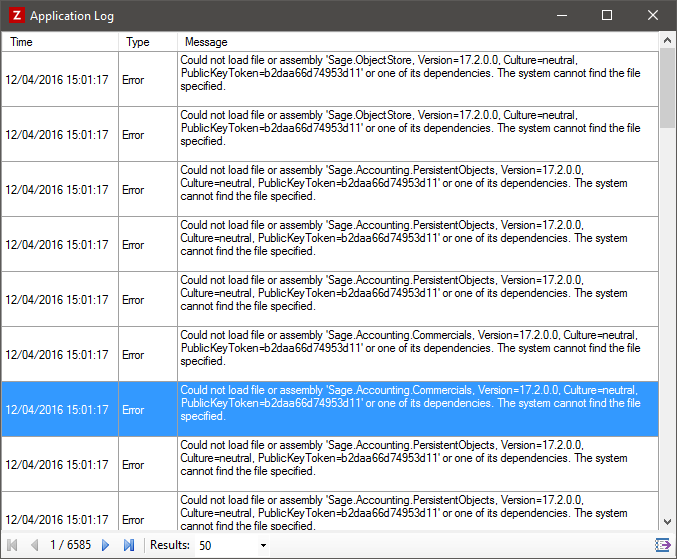
You can use the built in Application log to view any crashes the application encounters amongst other issues.
Backing up your data
It is good practice to take backups of your data on a regular basis. Zynk has built in tools which will allow you to do this.
Creating a Backup
To create a backup, click on File, and then click Backup. You will then see a message like the one below.
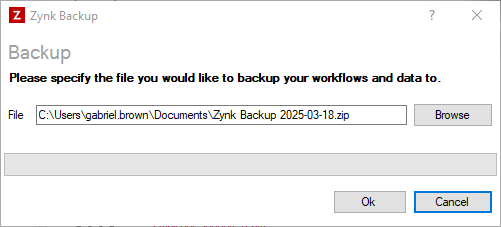
You can use the 'Browse' button to change the save location of the backup file, if required. Then, click the 'Ok' button to create the backup file. You should then get a message confirming that the backup file has been successfully created.
Scheduling Backups
It is possible to create a workflow which will run backups automatically according to a schedule. To do this, follow the steps below.
- Create a new workflow.
- Add the 'Create Backup' task from the 'Zynk' task library to the workflow.
- Set up the 'Create Backup' task. You can refer to Zynk Core Library for guidance on how to do this.
- Click on the 'Schedule' button on the toolbar.
- Set the times you want the backup to run. You can refer to Scheduling a Workflow for guidance on how to do this.
- Save the workflow.
Restoring Your Data From a Backup
If you happen to have lost any of your workflows or other data, you can restore them using a backup file you had created earlier. Please bear in mind that the workflows and data you currently have will be overwritten by their counterparts from the backup file. Any workflows or data that you currently have which were not included in the backup will be preserved.
To restore your data from a backup, click on File, and then click Restore. You will then see a message like the one below.
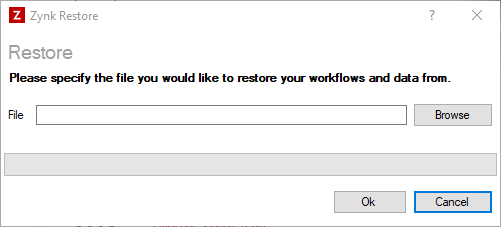
Use the 'Browse' button to locate the backup file, and then, click the 'Ok' button. You will then get a message asking you to confirm you want to overwrite any existing data. Click the 'Ok' button to confirm that you want restore. If the restore was successful, you will get a confirmation message. Click the 'Ok' button, and Zynk will restart with you backup data restored.
Exporting Zynk's Workflow History Logs
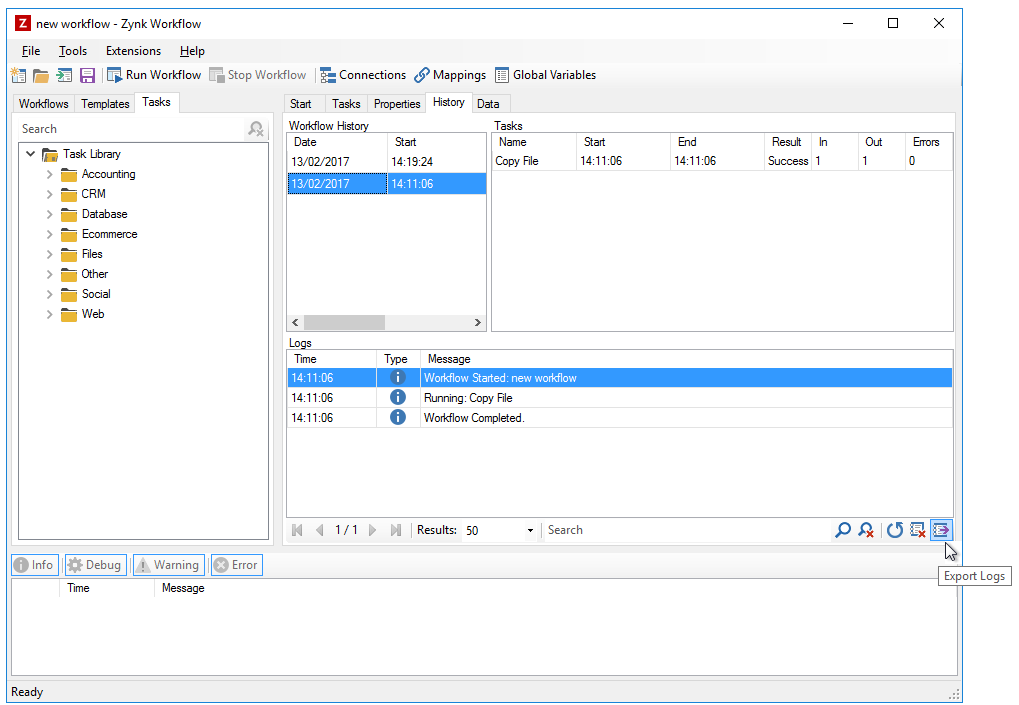
The History tab lets you review the logs from each run of a Workflow, providing you with a closer look at the work done by each task in the Workflow.
To export the logs for a particular Workflow run, you must first open the Workflow in Zynk.
Once the Workflow is open in Zynk, navigate to the History tab and select the Workflow History entry you would like to export the logs for and click Export Logs.
Using a Proxy Server
You can specify a proxy server at each individual task level, however, if always use a proxy server to access the internet you can set up 4 Global Variables which will be used as the defaults for any tasks that need to access the Internet.
Click on the Global Variables button on the Main Toolbar
- Setup a variable called PROXY_ADDRESS and set this to e.g. 192.168.1.100
- Setup a variable called PROXY_USERNAME and set this to the username if required to access your proxy server e.g. PaulJohnson
- Setup a variable called PROXY_PASSWORD and set this to the username if required to access your proxy server e.g. supersecret
- Setup a variable called PROXY_PORT and set this to the Proxy server port number e.g. 8080
Note the variables are case sensitive and must be all UPPERCASE
Using the Query Designer
The Query Designer provides a visual, point and click user interface for building SQL queries. It is available on most tasks which require an SQL query, see below for a list of the tasks it can be used on.
Accessing the Query Designer
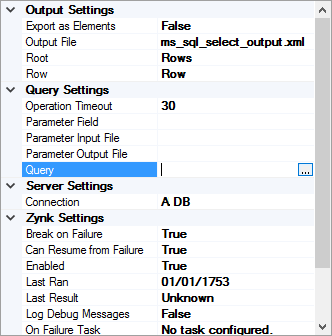
The Query Designer can be accessed from within a supported task's settings. In this example, the MS SQL Select task is being used. Click the 'Query' setting, then the ellipsis (...) button that appears next to it.
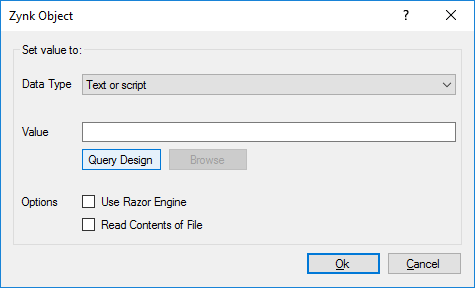
Click the 'Query Design' button to launch the Query Designer. Please note that this button will only appear on task settings which support the Query Designer. You must select a connection in the task settings before you can use the Query Designer.
Guide to the Query Designer
After launching the Query Designer, you will see a window like the one shown below.
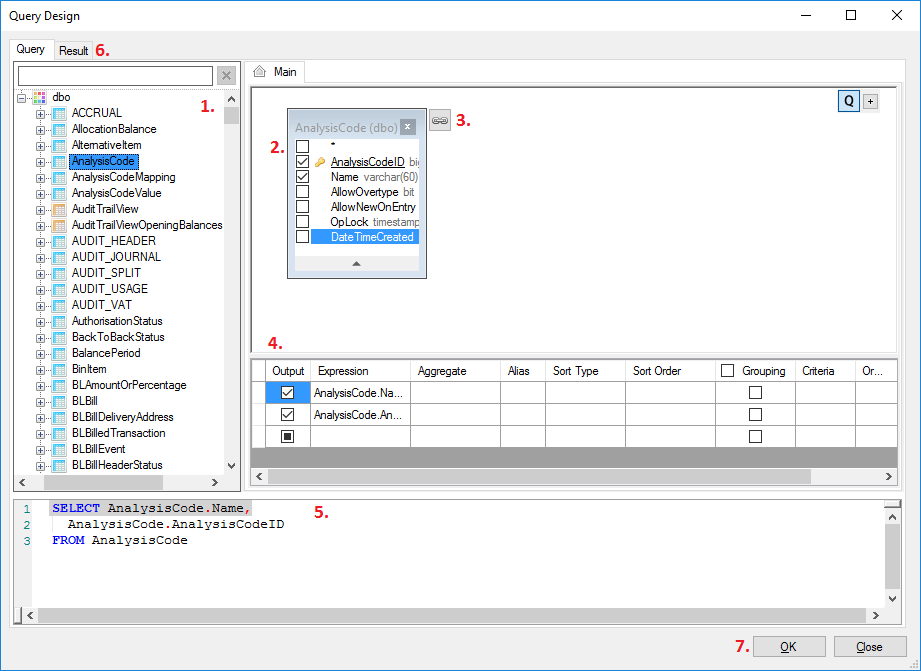
- Click and drag a table from the right into the centre to add it to the query.
- Use the check boxes to chose which columns the query should select from the table.
- Click this button to add a related table to the query. The list of related tables will appear, click the one you want to add. You can chose which columns to select from the related table in the same way as step 2.
- Configure any aggregate functions, aliases, sorting, grouping or criteria for each column here.
- You can manually edit the SQL query generated by the designer here, if required.
- Switch to the Results tab to check what data the query returns.
- Click OK once you have finished editing the query.
Supported Tasks
The Query Designer is available on the following tasks: